How To Set Up Surfshark On Utorrent In The US?
Read Time:4 Minute, 33 Second
uTorrent is one of the most popular torrent clients used for P2P file sharing. However, torrenting does carry risks like receiving DMCA notices or ISP throttling. To torrent safely and anonymously in the USA, you can set up Surfshark VPN on uTorrent.
In this guide, we’ll cover how to configure Surfshark and uTorrent together for secure torrent downloading in the United States.
Why Use A VPN For Torrenting In The USA?
There are a few key reasons to run torrent traffic through a VPN:
Hide Torrent Activity from ISP
Many ISPs in the USA throttle or block torrents. A VPN masks torrent usage so your ISP cannot limit speeds or bandwidth.
Avoid DMCA Notices
Copyright holders monitor swarms for illegal sharing and issue DMCA takedown notices. A VPN hides your IP address to avoid detection.
Enhanced Privacy & Security
VPN encryption protects your traffic from snooping and makes it impossible to trace downloads back to you.
Bypass Geographic Restrictions
VPNs can overcome geo-blocks if certain torrents are restricted in your region.
Secure Public Wi-Fi Connections
On open Wi-Fi networks, a VPN adds an extra layer of protection for your torrent transfers. Surfshark provides a fast, reliable VPN service that’s ideal for anonymous torrenting and can help you to Get Unbanned From Valorant in the USA.
This sentence now includes the keyword “Get Unbanned From Valorant” within the context of a VPN service
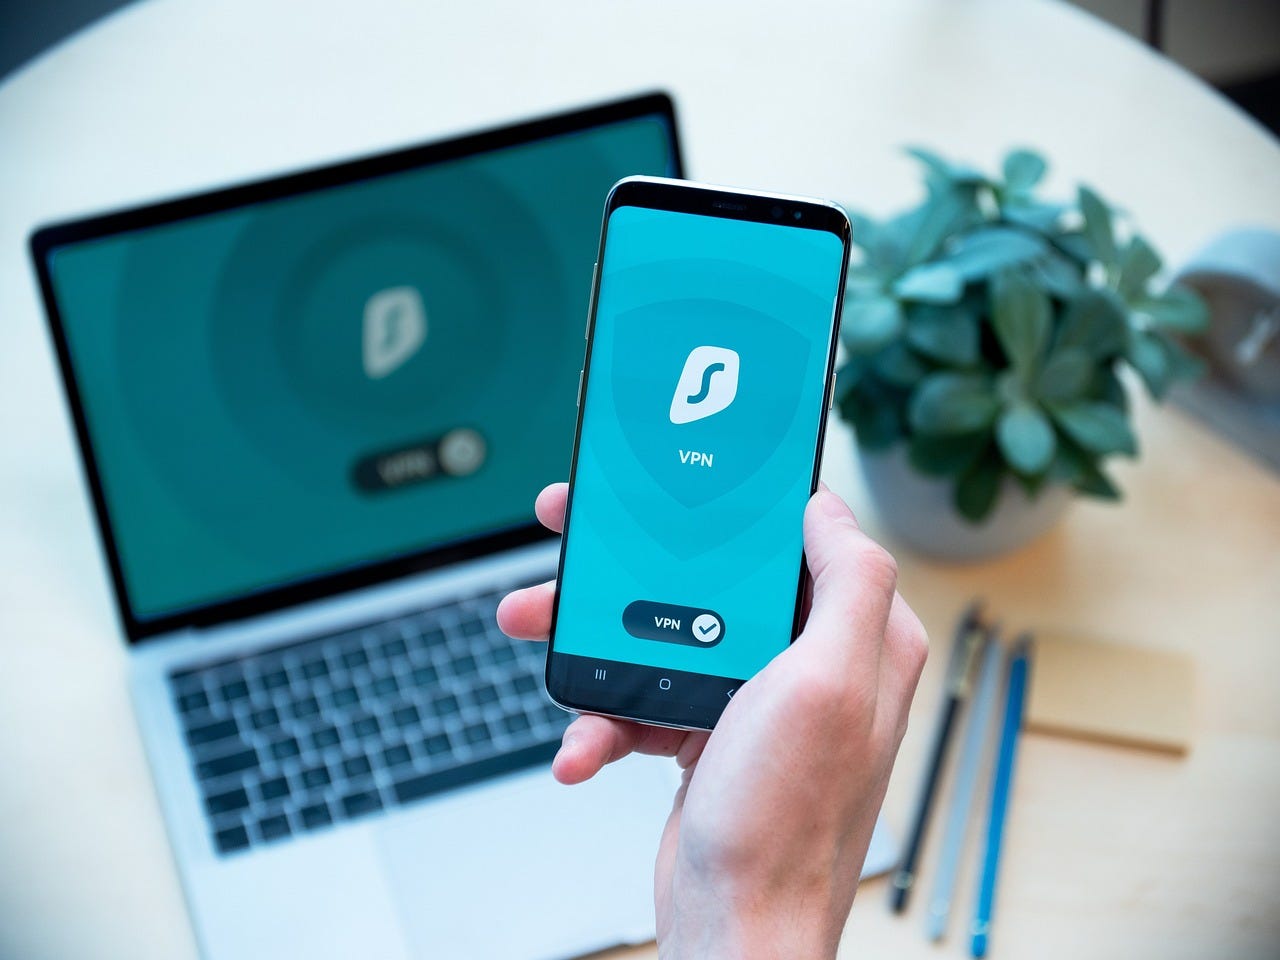
Step 1 – Install And Set Up Surfshark VPN
If you don’t already have Surfshark, sign up for an account at their website. Surfshark offers unlimited device connections for a low monthly price.
Download and install the Surfshark app for your desktop platform – Windows, macOS, etc. Log into the app using your account details.
Next, choose a VPN server location. Select a server in a country that supports P2P activity like Switzerland or Norway for the best speeds.
Enable the Surfshark kill switch in the app settings. This will cut off internet access if the VPN disconnects to prevent IP leaks.
Surfshark is now active and will tunnel all your traffic through the encrypted VPN tunnel.
Step 2 – Configure Utorrent For VPN Connection
With Surfshark installed, now we need to route uTorrent transfers through the VPN:
- Launch uTorrent and click Options > Preferences.
- Go to Network and uncheck “Automatically map port.”
- Enable “Enable UPnP port mapping.”
- Check “Use random port every startup” under Ports.
- Turn on “Enable DHT” and “Enable Local Peer Discovery.”
These settings allow uTorrent connections to be routed through the VPN tunnel.
Next, under Connections, set the proxy server to “127.0.0.1” and port to Surfshark’s WireGuard port – 51820
Surfshark is now funnelling uTorrent activity through the encrypted VPN tunnel.
Step 3 – Verify You Are Protected
To confirm your IP and identity are masked while torrenting, visit a site like ipleak.net.
It should display Surfshark’s VPN server IP rather than your true ISP IP address.
You can also visit websites like Google or WhatIsMyIP.com to confirm the VPN IP address is shown. If you encounter Nordlynx No Internet Access issues, you may want to troubleshoot your VPN connection. Now, any torrents you add and download through uTorrent will be secured by Surfshark’s privacy protection. Your IP, downloads, and actual location will remain hidden.
Step 4 – Check for DNS Leaks
Even with Surfshark active, your DNS requests could potentially leak your IP. To check for DNS leaks:
- Visit dnsleaktest.com and run the Extended Test.
- Ensure the DNS servers listed match Surfshark’s DNS addresses:
- 172.64.36.1
- 172.64.36.2
If your ISP’s DNS servers are shown, you have a DNS leak.
To fix this and keep your IP hidden:
- In the Surfshark app, go to Settings > Advanced and toggle on the DNS leak protection option.
- Renew your IP address and recheck dnsleaktest.com to confirm it shows Surfshark’s DNS instead.
With DNS leak protection enabled, your torrent usage is fully secured and anonymous.
Surfshark Setup Troubleshooting
If you are still experiencing leaks, slow speeds, or connection drops with uTorrent and Surfshark, try these troubleshooting tips:
- Ensure Surfshark is successfully connected before launching uTorrent.
- Double-check check the proxy settings match Surfshark’s WireGuard port.
- Try toggling the uTorrent network options off and back on to force a reconnect.
- Verify the VPN kill switch is enabled to prevent leaks on disconnects.
- Contact Surfshark support if issues persist for help troubleshooting.
A properly configured VPN is essential to protect your privacy and enjoy unrestricted torrent speeds in the US.
Does Surfshark Work With Qbittorrent?
Yes, the setup process is the same. Enable port mapping, the VPN proxy at 127.0.0.1, and DNS leak protection. Surfshark will then tunnel qBittorrent transfers.
Can My ISP See I’m Using Surfshark?
ISPs can see VPN traffic but won’t know you are specifically using Surfshark. However, using Surfshark’s NoBorders mode obscures VPN activity from your ISP.
Is Surfshark Faster Than NordVPN For Torrenting?
Independent speed tests indicate Surfshark provides faster download speeds for P2P activity compared to NordVPN and other large providers.
Conclusion
Surfshark provides an ideal VPN service for protecting your torrenting activities in the US. By tunnelling uTorrent transfers through Surfshark’s encrypted connection, you can avoid DMCA notices, hide your IP, bypass ISP throttling, and securely download files from any location. Surfshark also offers high speeds to support large P2P downloads. Take these steps to keep your torrent usage private even on public Wi-Fi or cellular data connections.
Happy
0 %
Sad
0 %
Excited
0 %
Sleepy
0 %
Angry
0 %
Surprise
0 %


")