HP Printer Setup Assistance
ID: #931571
Listed In : Electronics
Business Description
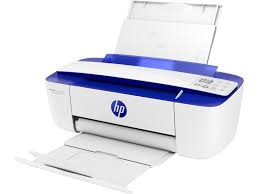
Setting up an HP printer can seem like a daunting task, but with a clear step-by-step approach, you can get your printer up and running smoothly. First, unpack the printer from its box and remove all the protective materials, including any tapes and packing materials inside and outside the printer. Next, place the printer on a flat, stable surface near your computer and a power source. Connect the power cord to the printer and plug it into an electrical outlet. Turn on the printer using the power button. Once powered on, you’ll need to install the ink cartridges. Open the cartridge access door and insert the ink cartridges into their respective slots, ensuring they click into place. Close the cartridge door once all cartridges are installed. Now, load paper into the input tray, adjusting the paper guides to fit the size of the paper. For the printer to communicate with your computer or network, you'll need to install the printer drivers and software. You can do this by downloading the latest drivers from the HP website or using the installation CD that came with the printer. Follow the on-screen instructions to complete the installation process. If your printer supports wireless connectivity, follow the prompts to connect your printer to your Wi-Fi network. This usually involves selecting your network from a list and entering your Wi-Fi password. After installation, print a test page to ensure everything is working correctly. If you encounter any issues, refer to the troubleshooting guide in the printer’s manual or visit the HP support website for further assistance.
Business Hours
Monday : 09:00 - 17:00
Tuesday : 09:00 - 17:00
Wednesday : 09:00 - 17:00
Thursday : 09:00 - 17:00
Friday : 09:00 - 17:00
Saturday : 09:00 - 17:00
Sunday : 09:00 - 17:00