How to Use AI to Improve Your Image Quality
Read Time:5 Minute, 53 Second
Low quality photos can be a real problem when you want to share your work or print a memory. You might have an old photo that looks grainy or a small thumbnail that turns into a blurry mess when you try to make it bigger. Most people think they need expensive cameras or years of training to fix these issues. That is no longer the case because modern technology does the heavy lifting for you.
You can now take a small, blurry file and turn it into a crisp image using an AI Image Upscaler. These tools do not just stretch the pixels like old software used to do. Instead, they use smart math to guess what the missing details should look like. This means your photos stay sharp even when you increase their size by four or eight times.
Once you have a larger image, you might notice that the colors look a bit dull or the lighting is not quite right. This is where an AI Photo Editor comes into play to help you balance the tones. These tools can automatically fix exposure and remove unwanted spots without you needing to touch a single complex slider. You get professional results in just a few clicks.
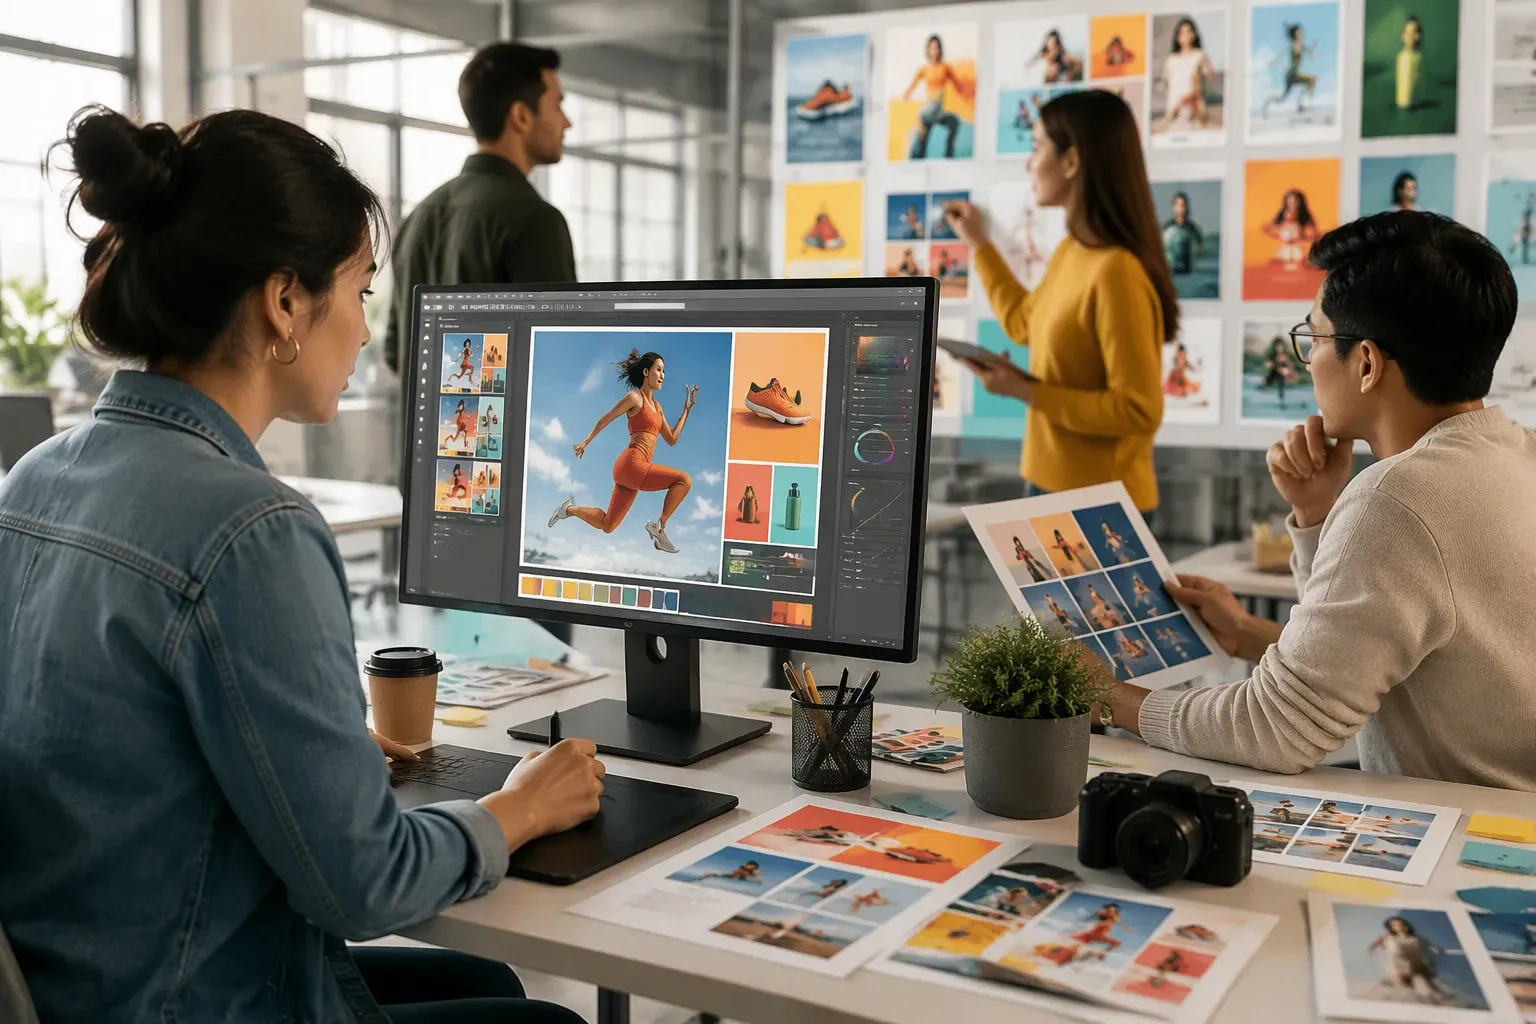
Using these tools together creates a powerful workflow for anyone who works with visuals. You do not need to be a graphic designer to understand how to improve your files. If you follow a simple process, you can rescue almost any photo from the trash bin. This guide will show you exactly how to combine upscaling and editing to get the best possible results.
Step 1: Prepare Your Original File
Before you start, look at your original photo. AI works best when it has a clear idea of the subject. If your photo is extremely dark, you might want to brighten it slightly first. Make sure the file is in a common format like JPG or PNG. High quality originals always lead to better results, but AI is very good at fixing low resolution files too.
Step 2: Scale Up Your Image
Upload your photo to the upscaling tool. You will usually see options to increase the size by 2x, 4x, or even more. Choose the setting that fits your needs. If you want to print a large poster, go for the highest setting. The AI will analyze the edges and textures in your photo to create new pixels that look natural.
Step 3: Clean Up the Noise
Many old photos have grain or digital noise. When you upscale, the tool often includes a feature to reduce this noise. Make sure this setting is turned on. It smooths out the background and skin tones while keeping the important details like eyes and hair sharp. This step is vital for making the image look like it was taken on a modern camera.
Step 4: Refine the Details
After upscaling, open the file in your editor. Look for tools that enhance clarity or sharpness. AI editors can identify specific parts of an image, such as a face or a landscape. They apply different rules to each part. For example, the software knows to keep skin soft while making the grass or trees look detailed.
Step 5: Adjust Color and Light
The final step is to check the balance of your photo. Sometimes upscaling can make colors look a bit flat. Use the auto-enhance features to bring back the vibrancy. You can also manually adjust the shadows if the dark areas look too heavy. Once you are happy with the look, save your file in a high quality format to preserve all the new details.
Comparison of Methods
| Method | Result Quality | Time Spent | Skill Level |
| Standard Stretching | Blurry and Pixelated | Seconds | Beginner |
| Manual Retouching | High Quality | Hours | Expert |
| AI Enhancement | High Quality | Minutes | Beginner |
Tips and Best Practices
Always keep a copy of your original photo. You might want to try different settings later if the first result is not perfect. AI is powerful, but it can sometimes create strange artifacts if the settings are too high. Having the original allows you to start over quickly.
Focus on the eyes when you are checking the quality of a portrait. The human brain is very good at spotting when eyes look wrong. If the AI makes the eyes look too sharp or robotic, try lowering the enhancement strength. A natural look is always better than a perfect but fake look.
Use the right file format for your goals. If you are putting the photo on a website, a compressed JPG is fine. If you are going to print it, use a PNG or a TIFF file. These formats keep more data and ensure the colors look the same on paper as they do on your screen.
Check the lighting before you finish. AI tools are great at fixing light, but they can sometimes make a photo look too bright. Look at the histogram if your tool has one. You want a good balance of dark, medium, and light tones. This balance makes the image feel deep and realistic.
Common Mistakes to Avoid
One big mistake is upscaling a photo that is already very large. If your photo is already 4000 pixels wide, upscaling it further might not add any visible quality. It will just make the file size huge and hard to work with. Only upscale when you actually need more resolution for printing or cropping.
Do not over-sharpen your images. It is tempting to push the sharpness slider all the way to the right. This often creates white halos around objects and makes skin look like plastic. Use a light touch. You want the photo to look like a photo, not a digital painting.
Avoid using low quality source files if you have a better version. If you took a photo on a phone, try to get the original file rather than a version sent through a messaging app. Messaging apps often shrink photos, which removes the data the AI needs to do a good job.
Do not ignore the background. Sometimes the AI focuses so much on the person in the front that the background starts to look blurry or distorted. Always zoom in and look at the corners of your photo. If the background looks weird, you might need to adjust the noise reduction settings.
Conclusion
Improving your photos does not have to be a chore. With the right AI tools, you can turn a low quality snapshot into a professional piece of art. The process of upscaling adds the necessary size and detail, while editing fixes the colors and lighting. This combination ensures that your images look great on any screen or in any frame.
By following the steps in this guide, you can save time and get better results than manual editing ever allowed. Start with a clear plan, use the tools wisely, and always check your details. You will soon find that no photo is truly beyond saving. Whether you are working on a hobby or a professional project, these tools give you the power to create stunning visuals every time.

Happy
0 %

Sad
0 %

Excited
0 %

Sleepy
0 %

Angry
0 %

Surprise
0 %
 0
0
 0
0